Removing the internals of an original Commodore 64 and replacing it with more modern hardware is not new. I have previously done it using an old breadbox style case and a Raspberry Pi. However, as evident from the mod (link), the entire backside of the case was molested, making it impossible to revert the machine to its original state. In this context, a highly skilled 3D print tinkerer on lemon64.com (link) has made 3D prints specifically for this type of modding – Raspberry Pi’s in Commodore 64 cases. Being completely pro-3D prints as I am (link1, link2), I find this absolutely amazing as using these prints no longer calls for drilling holes in our precious C64 cases. The 3D prints (or framework kit) can simply be dropped into a C64 case and the original mounting points can be used to fasten the framework to the case. So when I was given the opportunity to review the 3D prints I immediately accepted – nothing really beats free stuff, right?
The prints are sold on COREi64.com (link) which has specialized in different kinds of 3D printed parts for the Commodore 64/128, VIC-20 and Amiga computers. The site has framework kits for both types of C64 cases (old breadbox style & new Commodore 64C style). I have a left-over transparent Kickstarter case (we all have heaps of these, right?) that will make a perfect match for a future 3D printed C64 RasPi mod – why go through all the trouble of making nice 3D prints without showing them off to the outside world… So here is a review of what can be exptected from the C64 Raspberry Pi conversion kit/framework for the Kickstarter style Commodore 64 case.
The 3D Raspberry Pi Prints:
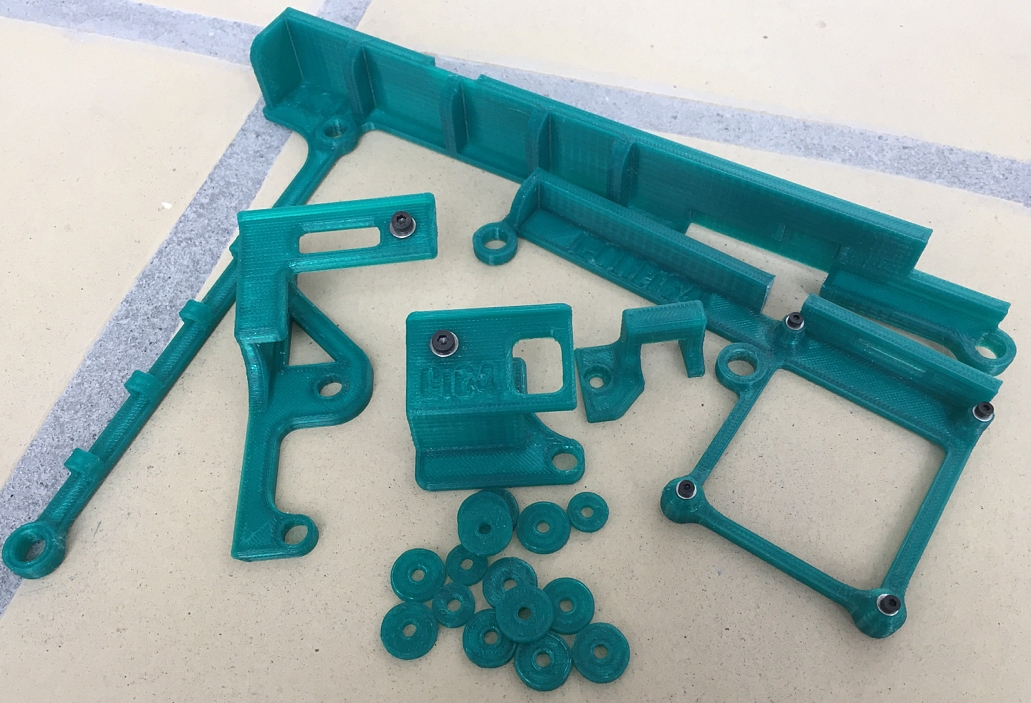
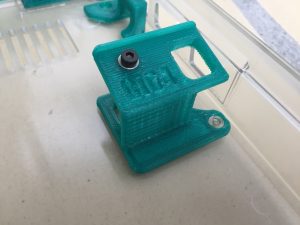
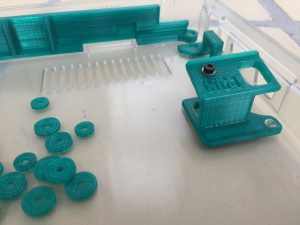
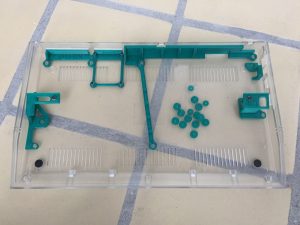
The 3D prints cost 65$ plus shipping from Canada and can be ordered in a variety of colors. I opted for the green color as I have some new keycaps coming (I patiently hope!) from the Phase 5/Indiegogo campaign that will be a perfect match. The conversion kit contains two large pieces that block off all the rear side ports, keyboards mounts, a plate to seal the gap surrounding the USB port and some custom washers. The washers are to be used with the original motherboard screws to fasten the framework to the inside of the case. Finally, black oxide screws and stainless steel washers with brass heat-set inserts, pressed into the framework, is for mouting the keyboard and a RasPi B+, 2 or 3. The pieces look like this:
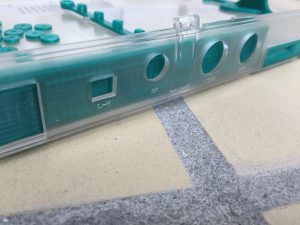
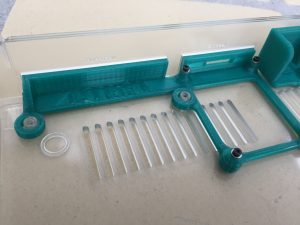
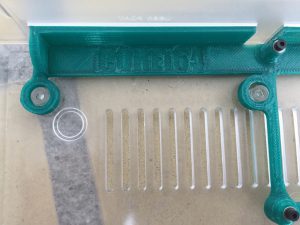
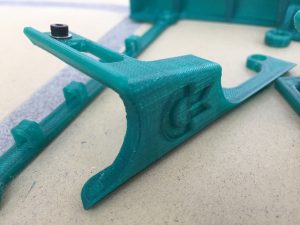
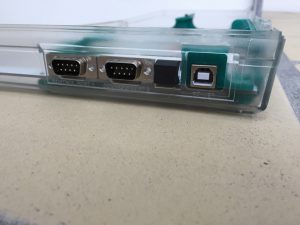
The largest piece is for blocking the Expansion port, the Serial port, the Video port and the RF ports.
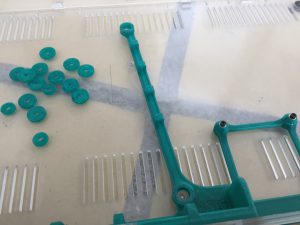
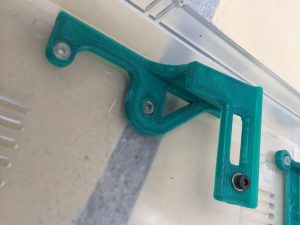
The 3D printed piece has a long arm which, besides securing the attachment to the case, also has ‘cable tie holes’ for accommodating the cable mess that eventually will inhabit the case when adding a Raspberry Pi. Kudos for adding that option!
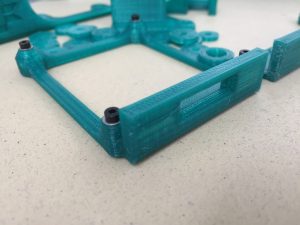
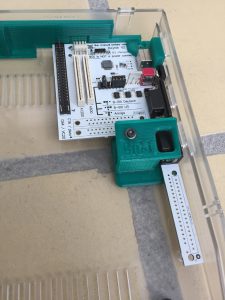
The second piece, which blocks the Cassette port and the User port, has screws for attaching a Raspberry Pi. It even has a small slot for easy access to the SD card.
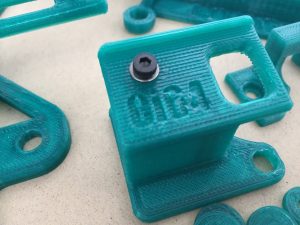
The keyboard mounts come with pre-installed brass heat-set inserts, black oxide screws and stainless steel washers. Mounting a keyboard can not be easier!
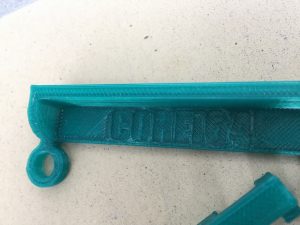
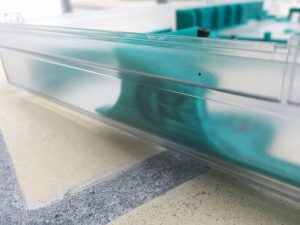
The left keyboard bracket has the Commodore logo which can be seen through the transparent Kickstarter C64C case. Nice!
…and here are all the pieces in the transparent Kickstarter case ready to have the rest of the electronics installed…
The conversion kit is specifically made to accommodate an Individual Computers Keyrah V2 interface board (link). This board is needed to connect the original C64 keyboard to the RasPi.
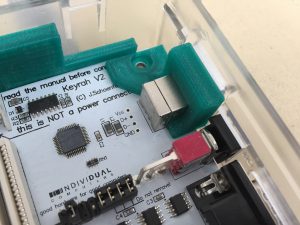
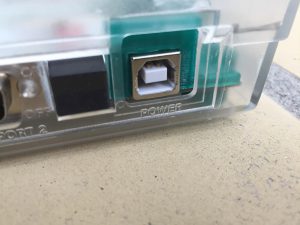
The small green power plate seals the gap surrounding the USB port and gives the mod a very nice finish.
The 3D Printing Process:
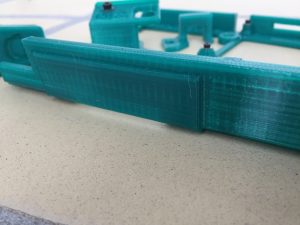
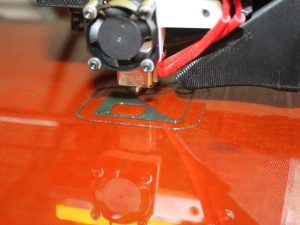
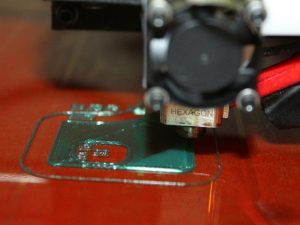
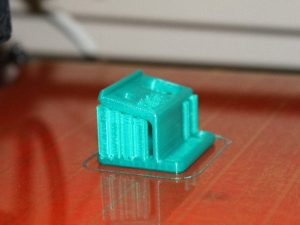
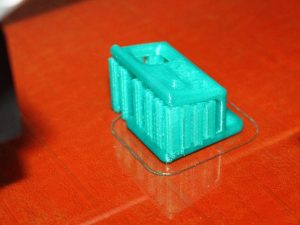
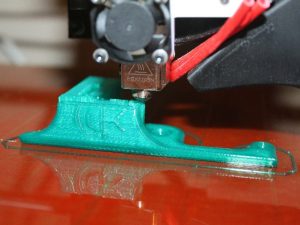
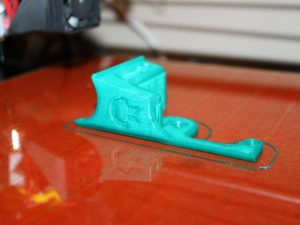
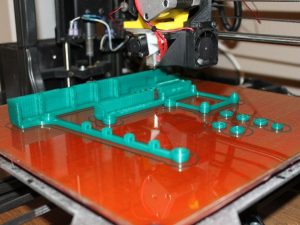
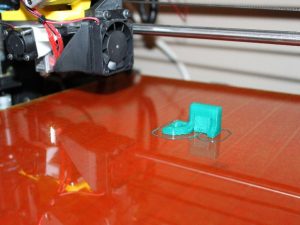
COREi64 sent me some images of the printing process using his Lulzbot TAZ5 3D printer. The printer is of the FDM type (Fused Deposition Modelling) which basically prints the 3D models layer by layer. The parts that I got were printed at a resolution of 0.2mm (0.00787 inch) per layer, so it is rather fine and makes for a nice finish. Printing the parts for the entire conversion kit takes about 10 hours of continuous printing to complete. After the printing process, the support material has to be removed and the heat-sets and screws inserted. So quite a bit of labour is put into these small beauties. Here are some images of the printing process (© COREi64.com)
Case Compatibility:
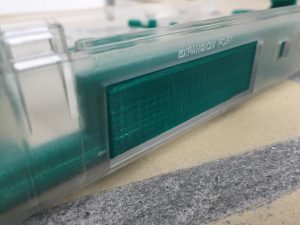
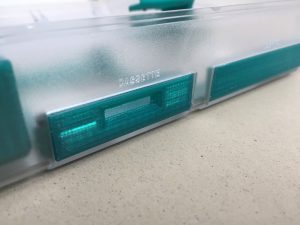
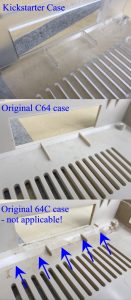
Attention: The 3D conversion kit/framework is specifically made for the newly produced Kickstarter cases (link), in which it fits perfectly. However, I also tested the 3D prints in different original Commodore 64C cases (the beige/white ones) as some may prefer to use these instead. Among my piles of old and dirty C64C cases I found a case which differed a little from the moulds that the Kickstarter cases were made from. As seen on this picture, the bottom image has a little rim just behind the port holes which will hamper the use of the 3D prints from COREi64.com without customizing the prints with an x-acto knife and sandpaper.
Final Thoughts:
The 3D printed Commodore 64C Raspberry Pi conversion kit/framework for the Kickstarter style case is really a no-brainer for anyone who wants to transform their old Commodore 64C into a cheap PC, based on the fantastic Raspberry Pi computer. The kit is well-thought-out, the prints are sturdy, has a very high printing quality and takes just seconds to mount. The 3D printed material is thick enough to drill custom holes for the cables to reach the internals and complete the project. Making a Commodore 64 based Raspberry Pi project cannot get any easier than this! And above all – the original case (or Kickstarter case) can easily be converted back to its original state as no case holes need to be drilled when installing the kit.
I can only recommend this 3D printed conversion kit to all you kids of the 80’s (otherwise you probably wouldn’t have read this far in the post…), who have fond memories of the Commodore 64 but dread the ridiculous loading times, the fiddling with the old 5.25″ floppies and special cables – and who knows, maybe it will lead to a newborn interest in the old hardware that I and so many people still love to spend time with. Happy 3D modding!
Want to see how the ‘3D printed C64 Raspberry Pi’ ended up looking like? Check it out here… (link)
© breadbox64.com 2016

