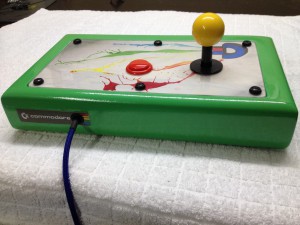
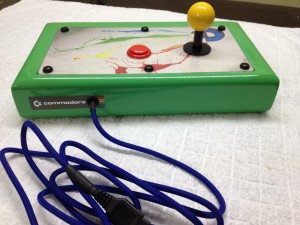
As a supplement to my good old Zip Stik joystick (which I favour over the Competition Pros), I wanted to build a joystick based on hardware known from world of arcade machines. As the electronic componets of such a project is quite simple (actually its basically soldering some wires from a cable to the fire button and the joystick switches), most efforts were put into building the stick.
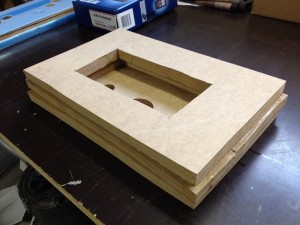
I used some MDF board that I cut out and glued together to make room for the base of the joystick.
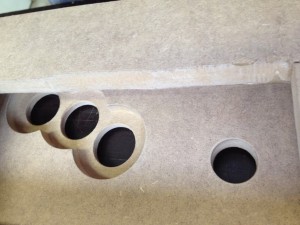
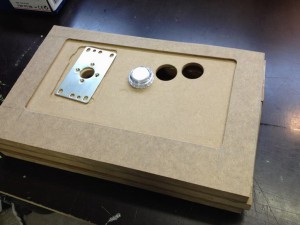
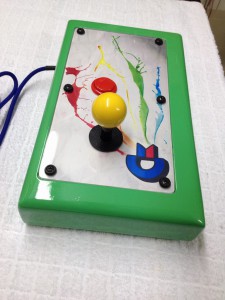
I then drilled holes for the buttons and countersunk the backside of the button holes with a router (Later on, I covered two of the holes as I only needed one for the Commodore 64). If I change my mind and eventually decides to use it for some arcade games, it would be pretty easy to add the extra buttons.
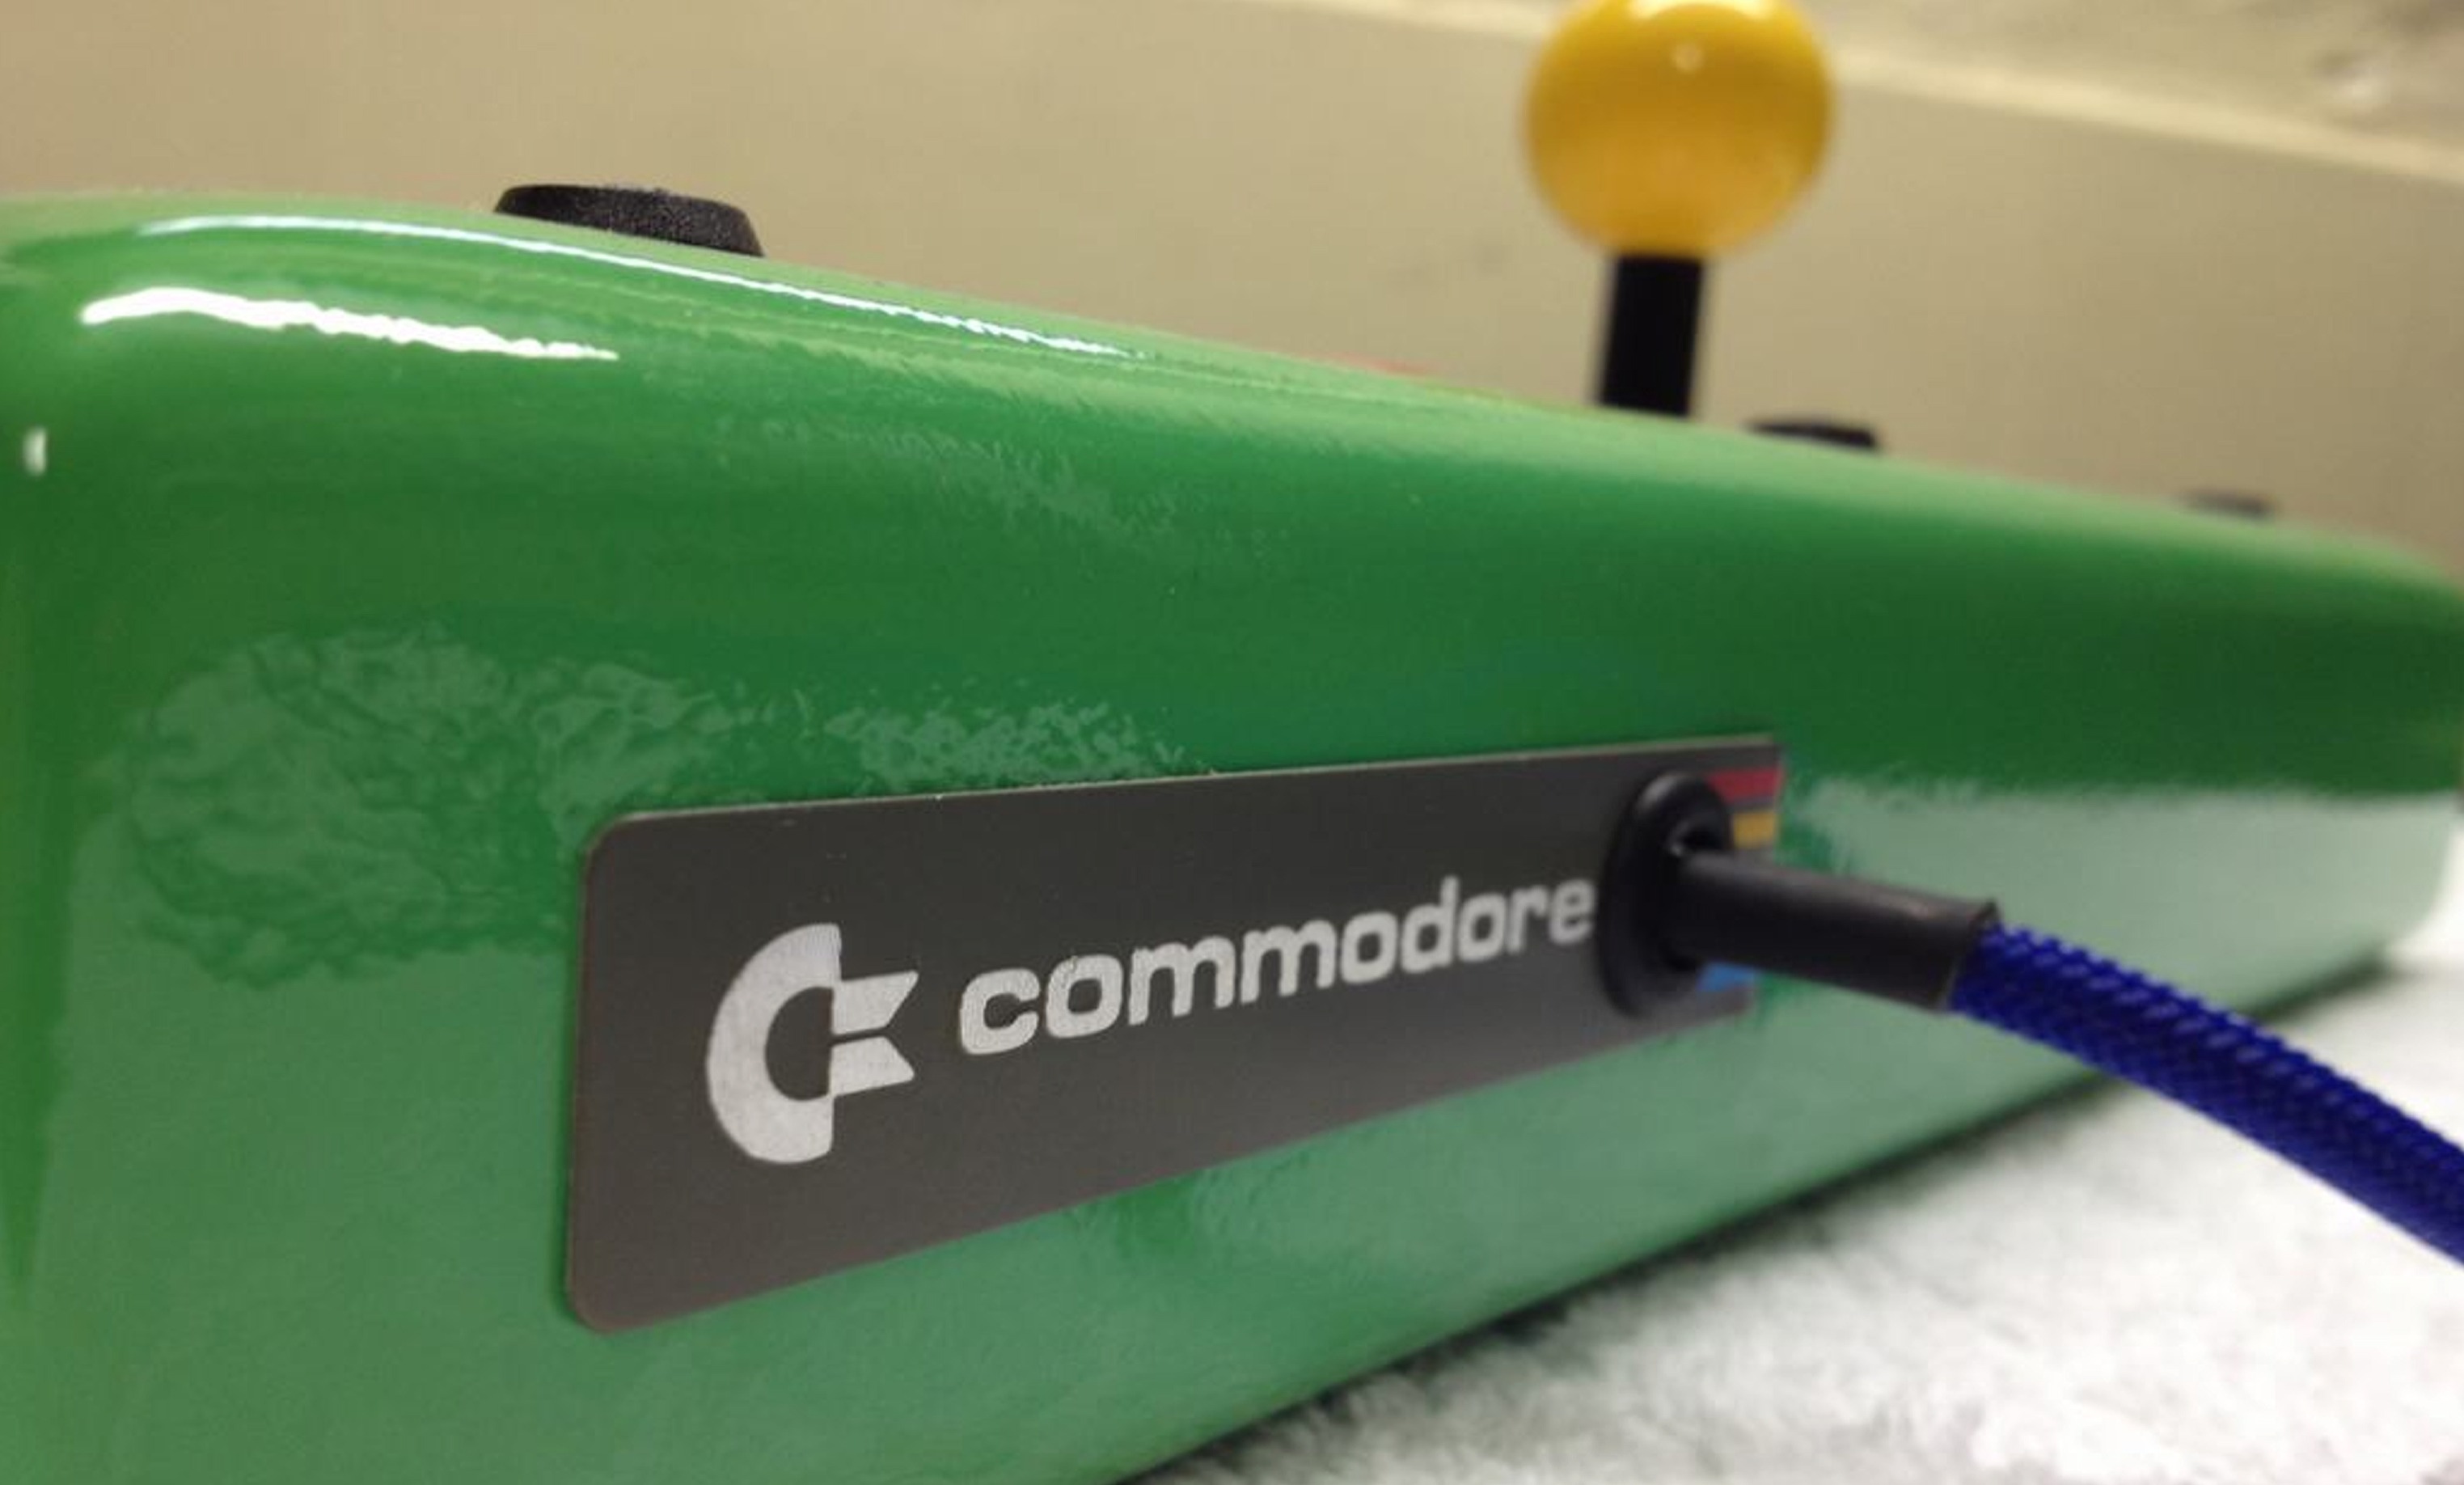
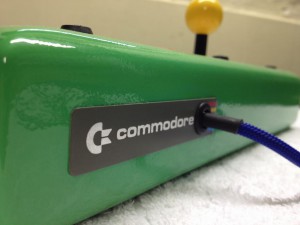
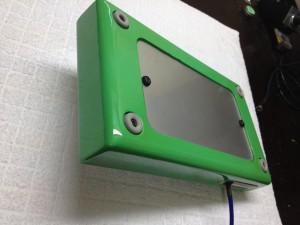
The rest of the build included cutting the sides of the case using a table saw, rounding the edges with a router, priming and painting the case, cutting out a piece of plexi glas, placing a piece of C64 inspired art under the plexi glas, screwing in the Seimitsu button, mounting the Sanwa JLF joystick, drilling a hole in the case and a spare 1541 disk drive label and soldering all cables together. Easy piecy…
I used a painted plexi glas plate for the bottom, so I did not have to make all the cabling neat and tidy…
© breadbox64.com 2015

What Did you paint it with? I’m looking to make a stick and looking to find paint options for it.
I used Belton Molotow spray paint for it (link). The paint is cheap (5-6$), comes in 256 colors, can be used at temperatures between -10C to +50C, it dries in like 5 minutes and it covers really well. I finished the paint job by applying several layers of Montana Glossy Varnish spray (link).