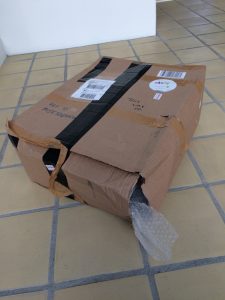
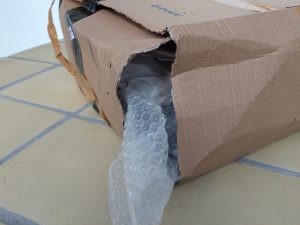
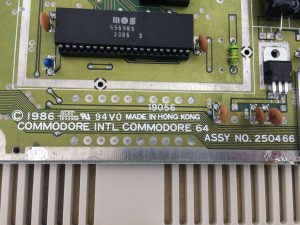
My quest for obtaining the last Commodore 64C motherboard version in my collection (Version B-3) has come to an end! I finally managed to get a copy of the Assy 250466 motherboard for a reasonable price. I got the machine from a guy in England on Ebay. The shipment was delayed a little as the seller was waiting for some sturdy shipping boxes to come in. This was of course not a problem as I wanted to get the machine unharmed. However, I was therefore a bit surprised when I finally received the box and it was looking like this… Not really a sturdy box in my humble opinion and not really the way to handle a package labeled with fragile stickers everywhere, either!
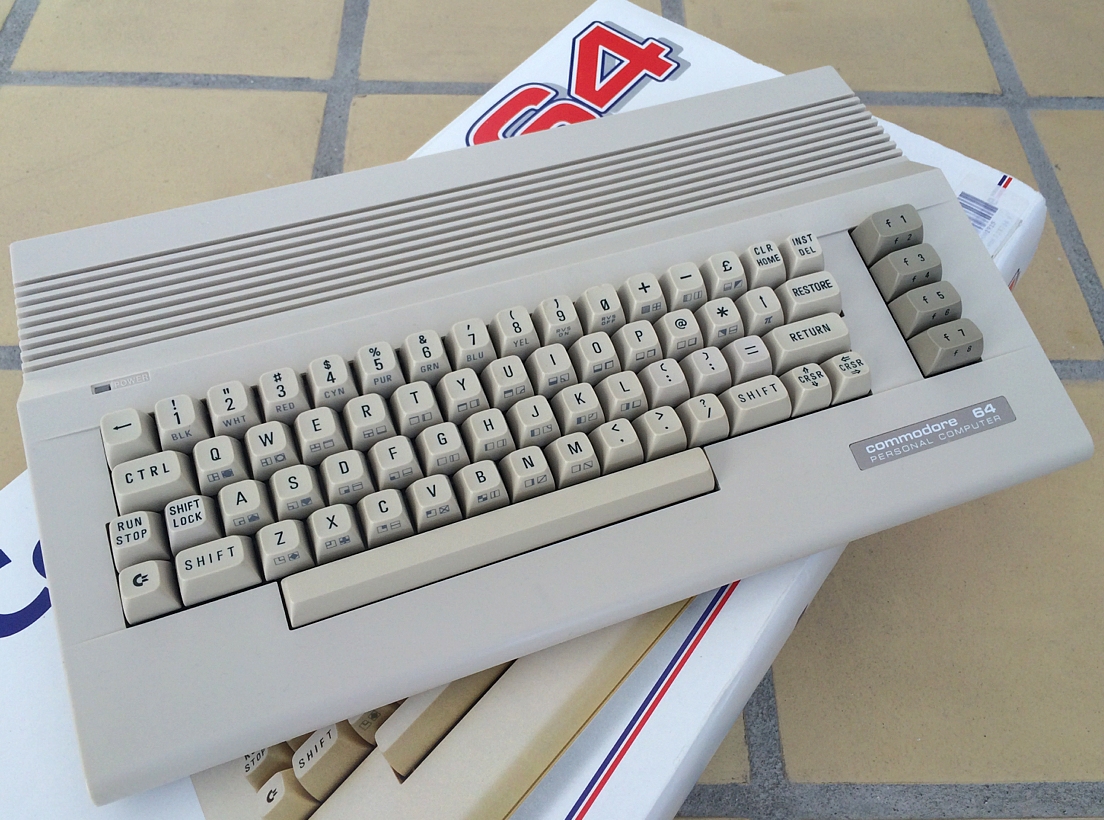
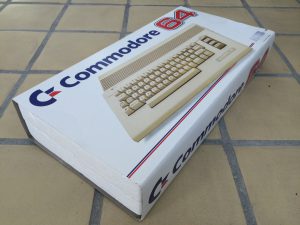
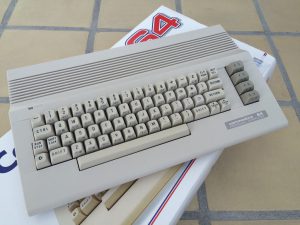
But look what was unharmed on the inside of the cardboard box – a nice white Commodore 64C box with an even better looking machine on the inside! Sweeeet!!!
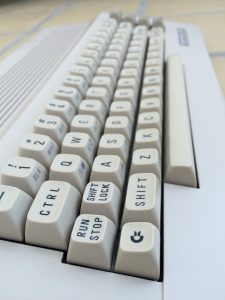
The keyboard is, in lack of a better phrase, the ‘Old Style Commodore 64C’ version with prints on the front of the keys like on the breadboxes (the plastic is of course white instead of greyish/brownish). I really like the looks of this version of the keyboard.
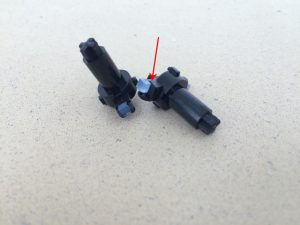
Unfortunately, one of the plungers broke during my cleaning procedure of the keyboard (red arrow). The easy fix was to get another plunger and simply transfer the bluish rubber part!
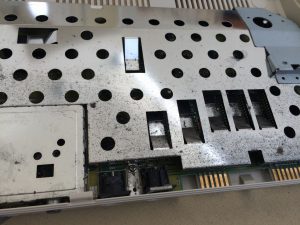
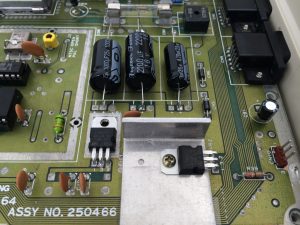
The machine came with a metal shield/bracket which functions as a heatsink for all the major chips. This feature is sure is a lot better than the usual cardboard RF shield found in the older breadboxes!
And under all the metal… a pretty little Assy 250466!
The power switch was not functioning properly when I got the machine, so I replaced it with a new one.
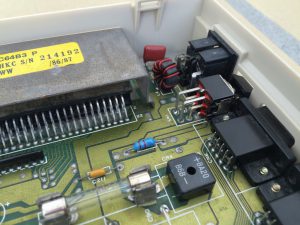
As I already had the soldering iron out, I also put in some new electrolytic capacitors and voltage regulators as described here (link).
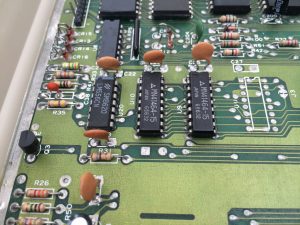
The Version B-3 motherboards have the same sluggish Restore key as all the long boards. Capacitor C38 (51 pF) was therefore replaced by a 4.7 nF one to make the Restore key work like all the other keys as described here (link).
More images of the machine can be found here (link).
© breadbox64.com 2016

Could I trouble you to take a photo of the backside of this board near the VIC-II chip? I recently acquired a 250466 board myself and I’m trying to repair one trace on the back of the board directly behind where the VIC-II sits. I have a trace on the underside of the board near what would be pins 16-18 that currently isn’t connected to anything (link) and I’m trying to figure out which of those pins it’s supposed to connect to. I’ve searched everywhere and all I can find are photos of the front of the board (and of course I can’t locate a schematic of this rev of the board either).
Certainly! You can find the image of the backside of the VIC-II MOS6569 chip here (link) and of the specific board details here (link). Hope this helps and good luck with the repair job. Let me know if you got it fixed 🙂
Got the same assy, black screen, the U1 and U2 getting quickly hot, especially U2, some suggestions before desoldering those chips, don’t have the desoldering station, thanx?