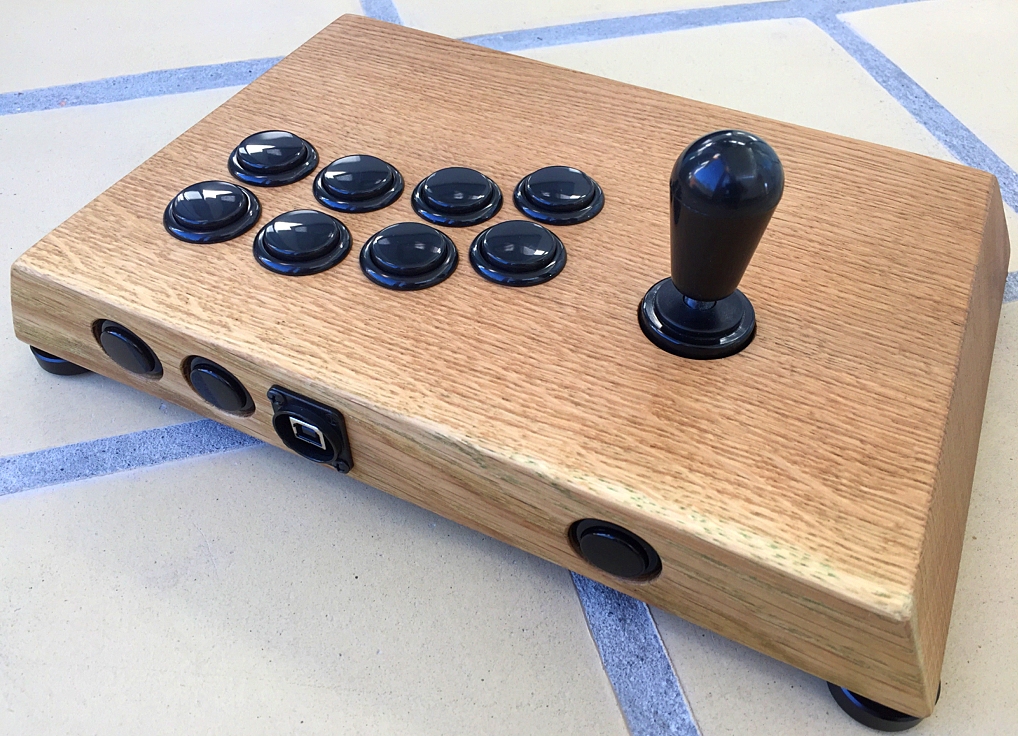
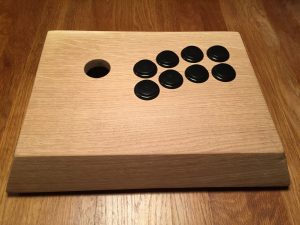
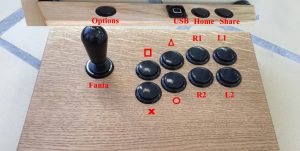
I just finished this custom fight stick for a German gamer. The stick is made from a solid piece of oak wood that I got from a local lumber mill and the fight stick is made for the Tekken fighting game. Due to this, I used a Myoungshin Fanta joystick as I’ve been told that this is the best Tekken joystick out there 🙂 This is how the Oaky Fanta Fight Stick was made…
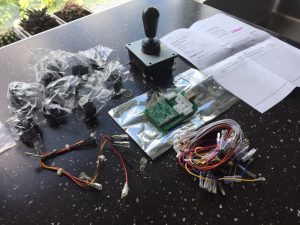
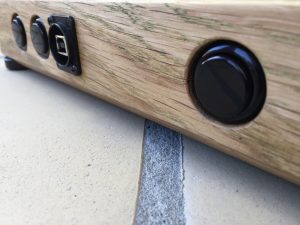
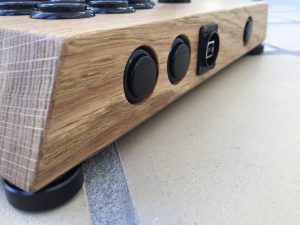
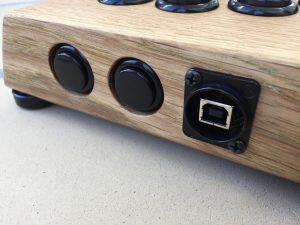
As the fight stick is going to be used on the Sony Playstation it has an IST pre-installed Brook PS3/PS4/PC fight board kit and a Neutrik USB plug for the cabling. The play buttons are Seimitsu PS-15 30 mm low profile pushbuttons (to make room for the internal cables as can be seen further down the post) and the rear ones are Sanwa OBSF 24mm’s.
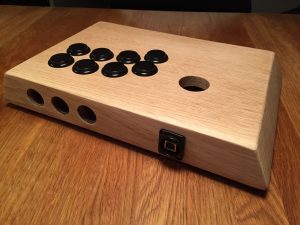
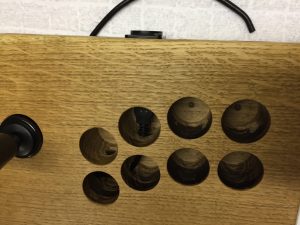
First the holes for the buttons and the USB plug were made and pre-tested.
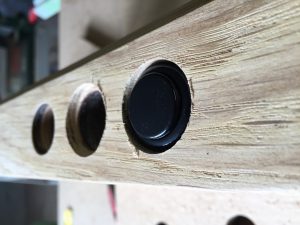
The holes on the rear side were then countersunk to make the pushbutton flush with the wood to avoid hitting them unintentionally during gameplay.
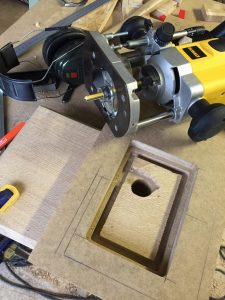
Next up was cutting the big hole for the PCB and the joystick. I made a template for my router to make the cutting easier.
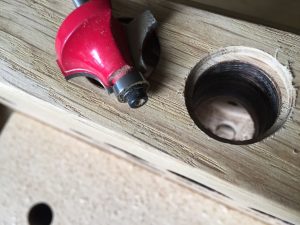
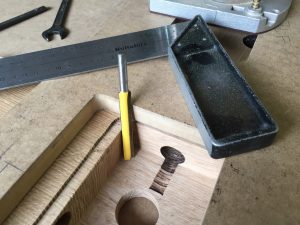
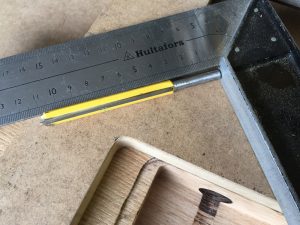
An extra long router bit was used to reach all the way to the bottom of the stick…
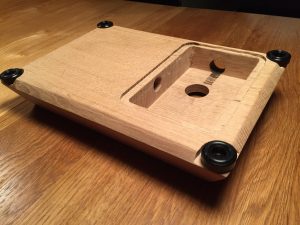
And the finished hole looked like this.
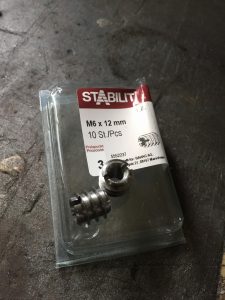
Holes for fastening the joystick were done by these M6 threaded insert bushings to make fastening of the joystick invisible from the outside.
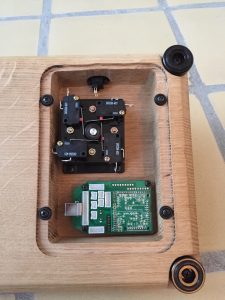
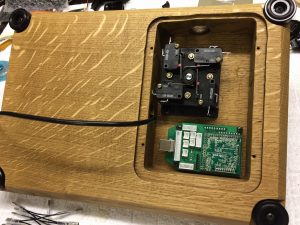
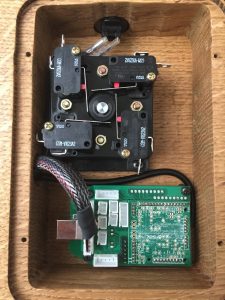
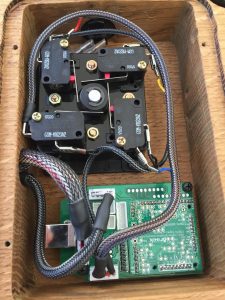
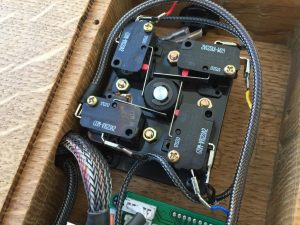
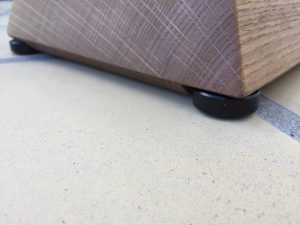
The joystick was then fastened, the PCB was mounted and the black 29 x 10 mm aluminum feet were screwed in.
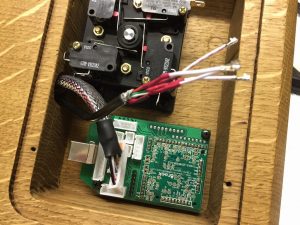
Time for pulling the USB cable from the Neutrik USB plug to the PCB.
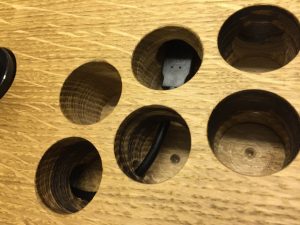
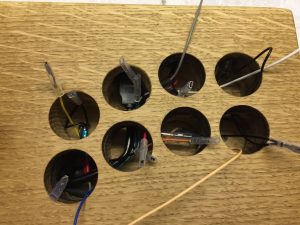
The holes did not pertrude the bottom of the stick to make the cabling invisible from the outside. Smalle holes were therefore drilled between the pushbutton holes for the wires.
I used the alternative USB connection as there was not enought room for using the Series A USB plug.
It was then time for pulling the pushbutton wires using this layout.
It looked kinda messy with all the cables…
I put a sleeve on the pushbutton cables to make a neat finish.
And finally, all the cabling were done and sleeved for a nice finish.
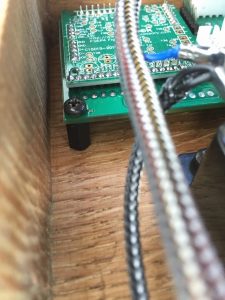
The PCB was mounted on plastic feet.
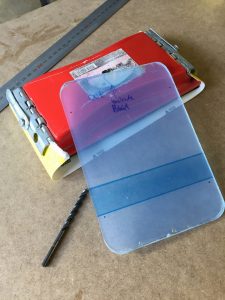
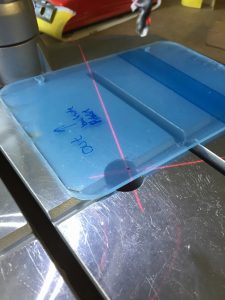
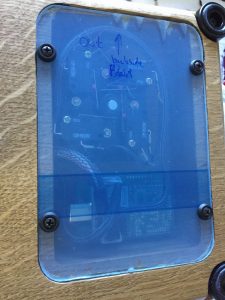
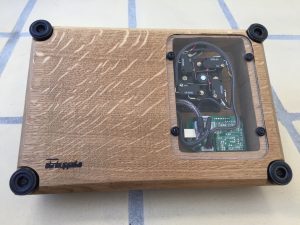
The very last thing that needed done was the plexiglass/acrylic board.
…and mounted at the bottom of the fight stick!
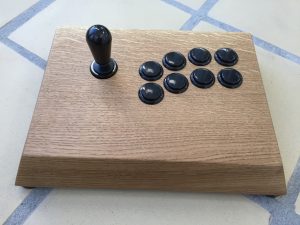
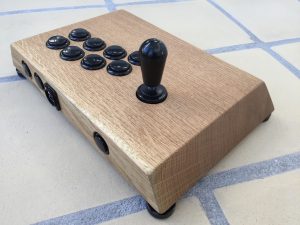
And finally the Oaky Fanta Fight Stick was done! I applied several layers of oil intended for dining tables to make the stick more resistant to the sweaty hands of the gamer.
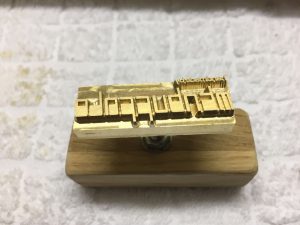
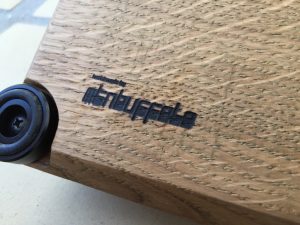
To make a nice finish I had a brass embossing stamp made that I made a burning mark with on the bottom of the fightstick. It says ‘Handmade by MtnBuffalo’…
© breadbox64.com 2017

Nice, solid box. Will have great weight to it so it can be used well and played hard. Looks great. Unique, one of a kind.
Thanks 🙂 Yes, it’s quite heavy and very solid – should withstand some serious pounding!
Great stick. It would have been superb if the stick had two choosable button mappings. This means that if a player wants to use the right hand instead of the left hand, the stick could simply be turned-around. The user could then switch to another mapping, which would make “up be down”, “left be right” and so on. There are some controller-adapters on the market, which can do this. For example a “Super-Nes to 9-Pin Atari/Commodore” adapter, which allows SNES-controller being used on Amiga, Atari-ST, C64, Atari VCS2600 and so on. There are not only good SNES-gamepads, but also rather good SNES-Arcadesticks (for example the Topfighter stick). These arcadesticks can be used with either hand on the C64 by choosing the correct mapping on the adapter. This is a nice feature, because lots of players who grew up in the 80`s played with sticks like the Competition Pro and are used to playing with the right hand. I am one of those players. I always had trouble playing with left hand and still do. Such a feature would also be great for your stick. This way the stick could be turned around and playing with either hands would be possible:-)
Great piece of art.