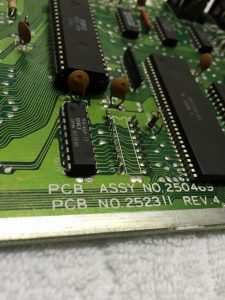
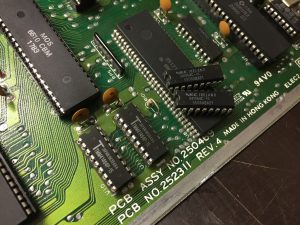
This is an Assy no. 250469 Rev. 4 shortboard. 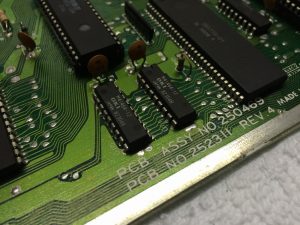
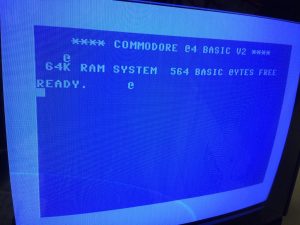
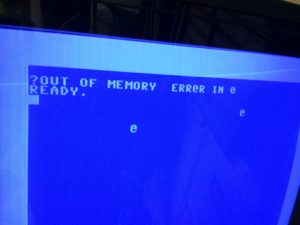
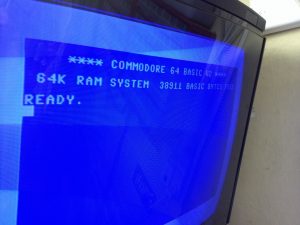
The machine would start up with either a black screen, less than 38911 bytes memory or ‘OUT OF MEMORY ERROR IN 0’.
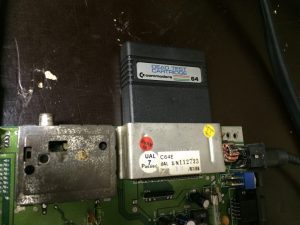
This clearly indicates a fault in the RAM chips. The Dead Test Cartridge is great for indicating faulty RAM chips as it makes the screen flash in patterns depending on which RAM chip is faulty.
Based on the flashing sequence of the Dead Test Cart, it seemed to be the memory chip at U11. This was exchanged with a fresh new one.
The Dead Test Cart now indicated that the RAM chip at U10 was faulty also. Out with the bad one and in with a fresh new one.
This made the startup screen turn black and I was not able to get the blue screen with memory fault or less than ‘38911 bytes ready’.
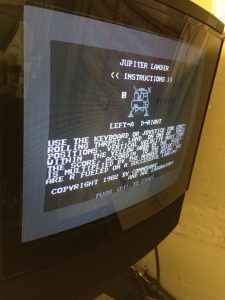
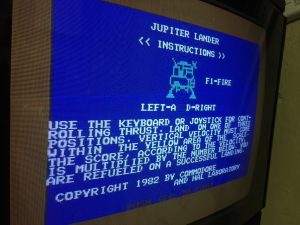
I kept getting memory errors from the Dead Test Cart, so I took out the RAM chips and switched their places (U10 to U11 and vice versa). Still a black screen and the Dead Test Cart gave me a fault on U11/U10 in random order. I double checked the RAM chips in another Assy 250469 board and they worked fine! I therefore expected something else was causing the problem. First I tested if the Kernal/Basic chip at U4 was faulty by running the game of Jupiter Lander on cart as this bypases the Kernal.
The machine booted the game but the colors were greyd out.
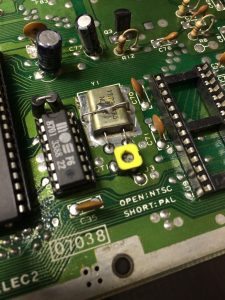
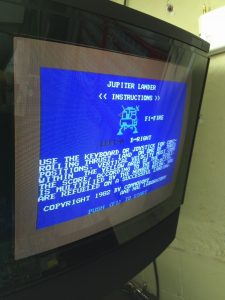
A quick turn on the yellow pot near the VIC-II chip made the colors come back.
However, parts of the screen were missing (e.g. part of the ‘P’ in ‘Jupiter’).
As the game was running I assumed that the RAM chips were working (otherwise the game should not be able to run, right?) and I exchanged the Kernal/Basic ROM at U4.
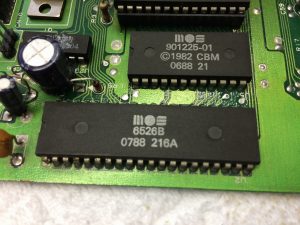
However, the macine would still have a black screen at startup. I therefore took a closer look at the CIA chip (MOS 6526) at U2 as this chip may also cause a black screen. To rule out this chip, I exchanged it with a fresh working one.
That did not cure the black screen either. At this point I was getting really confused because I had a cart game running that I could control with a joystick which means that the RAM chips, the MPU, the VIC-II and the CIA’s were all working. I’d also exchanged the Kernal/Basic ROM with a working chip. I therefore went through Ray Carlsen’s list of chips that may cause a black screen (link). I basically used a brute force approach for the repair and started from the top of his list and worked my way down. First up was the Character ROM at U5.
Still a black screen 🙁 Next up were the U22 (7406 logic chip) and U3 (7408 Logic chip) chips.
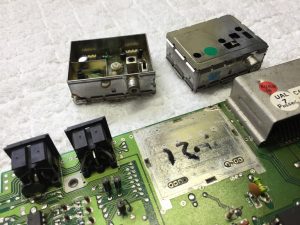
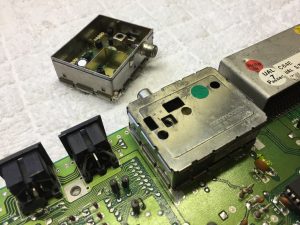
Still a black screen. As I’d run out of chip that would cause a black screen, I even tried swapping the RF box with a working one.
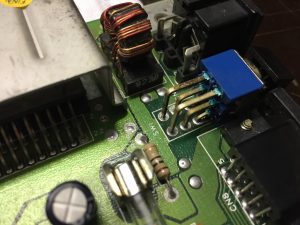
Still a black screen. The power switch was also replaced with a brand new one.
Still a black screen. When powering up the machine, I would get a horizontal flash before the screen would go black. I therefore thought that maybe the machine did not get enough power at startup. I therefore exchanged two of the larger capacitors. At this point I was basically shooting in the dark!
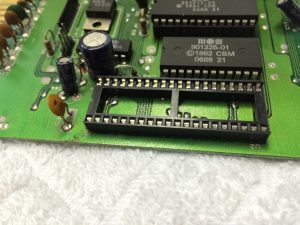
Still a black screen. I then moved back to the Kernal/Basic chip as I thought that maybe there was a broken trace under the chip or something – Jupiter Lander was still able to run regardless of what was exchanged on the board. I removed the socket and double checked everything. All traces looked good and another socket was installed.
The black screen remained! At this point I gave up as I had run out of chips that normally would cause a black screen. I filed the board as ‘possessed’ and threw it on top of the shelf!
After a few weeks I returned to the board with restored mental energy! I once again popped in the Dead Test Cart and was getting the same old memory fault at U10/U11. Even though nothing pointed towards these chips (as the machine could play a cart game and they worked fine in another Assy 250469 board), I went on and swapped them with two other RAM chips from my spare’s box. And guess what – the Dead Test Cart would boot into the test screen, Jupiter Lander had no parts of the screen missing and the sweet blue screen had returned!
I cannot say how relieved I was that I finally got it working! How a game can be run with two faulty RAM chips (at least on this board) really confused me. That combined with the machine not booting really lead me astray. Well, at least I learned something when fixing old C64’s – accept that sometimes the cause of the fault is not logic and most importantly, never ever give up 🙂
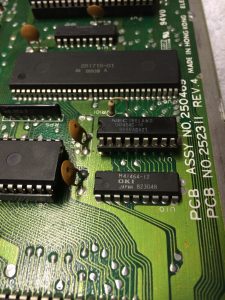
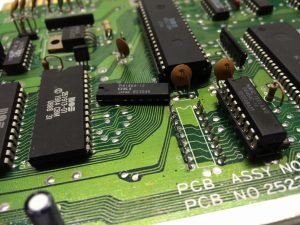
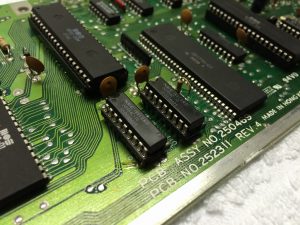
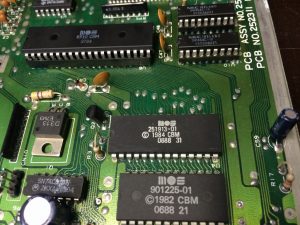
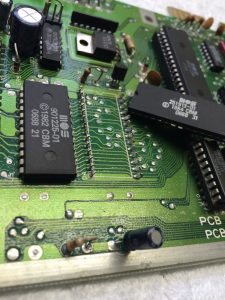
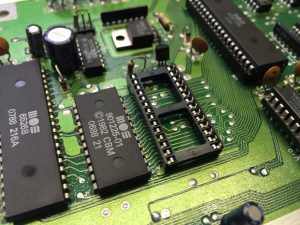
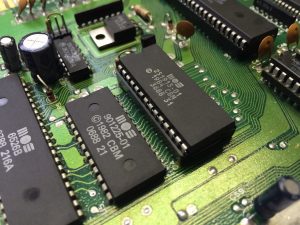
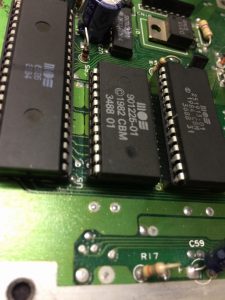
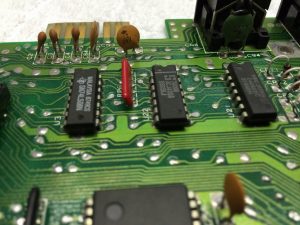
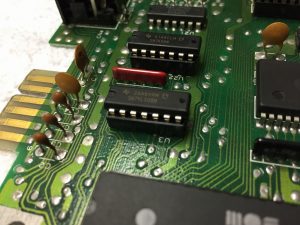
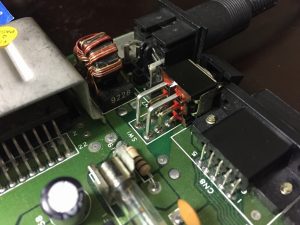
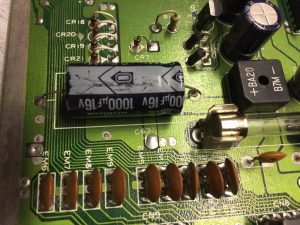
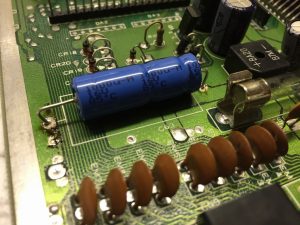
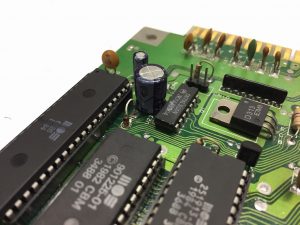
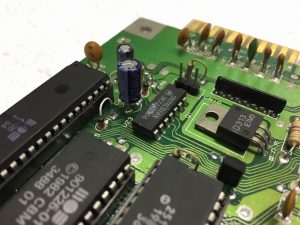
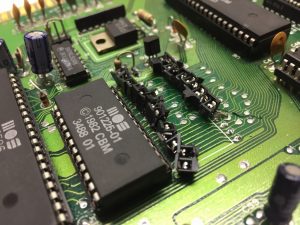
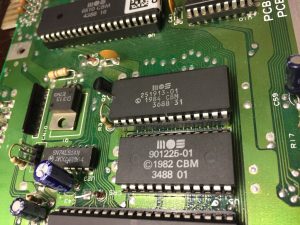
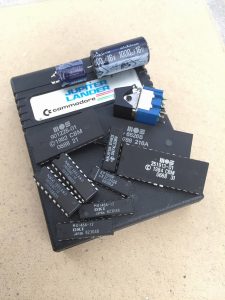
This is the lot of pieces that were exchanged for new ones to get the board running.
© breadbox64.com 2017






Thanks for the nice story and I’m happy that you succeeded in repairing your C64! I hope some day I will do it too (black screen of course) 🙂
Thanks for your comment. Yes, I’m very happy that I finally got this machine working again! Hope you can use some of my logs to fix your own black screen machine (and mayby even avoid some of the mistakes I did along the way…).
Always a good feeling to get a C64 back from the dead. Unfortunately the collateral damage on this one is a bit high in terms of chips sacrificed 😉
Great report 🙂 As for running a game on damaged RAM chips, I believe it depends on what parts of memory the game uses. So theoretically you could still load a game successfully into an intact part of the chip…but this of course is only speculation, I’m no guru!
Great repair log. Always a pleasure seeing someone save a classic computer. By the way, the old 8-bit machines like C64, Atari 8bit and ZX-Spectrum do not like very fast RAM chips. Usually they work fine with 150ns or 120ns RAM chips, but are not compatible with faster ones because they can introduce system instability. P.S. One of your pictures has a pair of NEC D41464C-10 😉
Hi Eidis, you may be absolutely right! When I exchanged the two 100ns to 120ns RAM’s the machine booted and worked as it is supposed to. I guess something else on the machine did not like the faster chips! Still strange that they’d work in other machines 🙂
What’s the idea behind cutting the component legs?! O_o Especially in repair like this when you are not sure if you replace dead part – you are ruining parts, that are potentially OK.
Hi HanJammer, you are absolutely right! I did waste quite a few chips by cutting legs in the search for the faulty chip(s). Shortly after I did the repair, I got my hands on a very nice de-soldeing station with a vacuum pump. This makes it extremely easy and fast to remove even larger chips like the MPU and CIA’s. So don’t expect future repair logs so include any leg cutting 🙂